


The art of manually brewing filter coffee has become an integral part of the recent third wave coffee movement. As the quality of coffee beans increases due to improvements in farm production and roasting, it's become important to find a method that truly conveys the subtlety of flavour these beans have to offer. For many, pour over coffee is that method. One of my favorite drippers to use in a pour over is the Kalita Wave.
There is also nothing quite like the feeling of creating something with your own hands. Rather than just pushing a button on a machine, try carefully crafting and putting something together.
Though it may seem technical when seen in posh cafes, the method of manual brewing is quite simple and the Japanese have been accustomed to the practice in their homes for years. Indeed, most of the filter coffee equipment used around the world is Japanese made.
I would like to share the process that I go through every morning and when friends visit.
Brewing with the Kalita Wave

Tools used:
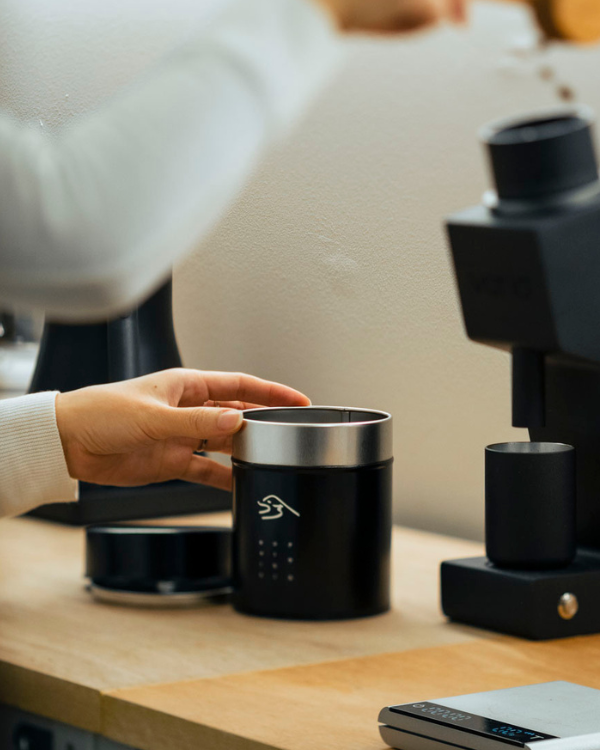
Coffee grinder
- I use an antique Kalita “nice mill” grinder passed on by my mother. If you’re starting off, try our Hario hand grinder. Any grinder is better than no grinder. Whole beans beats out pre-ground ones any-day.
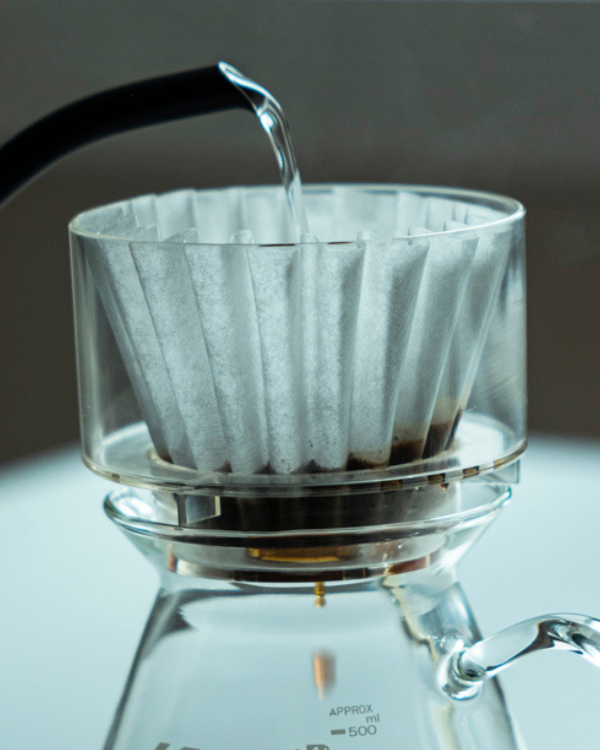
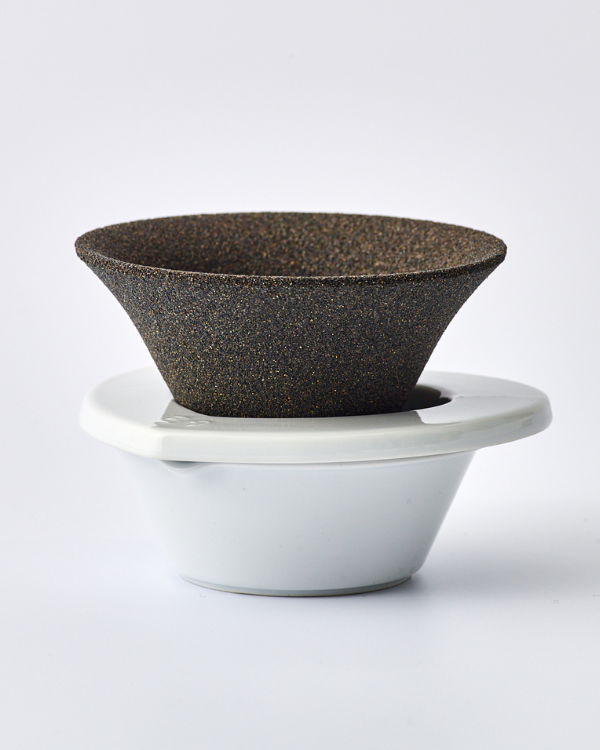
Coffee dripper
- We use the Kalita Wave 155 dripper. It’s what I have been recommending recently for beginners. The unique design allows for a consistent pour every time compared to traditional drippers such as the Hario.
Paper Filter
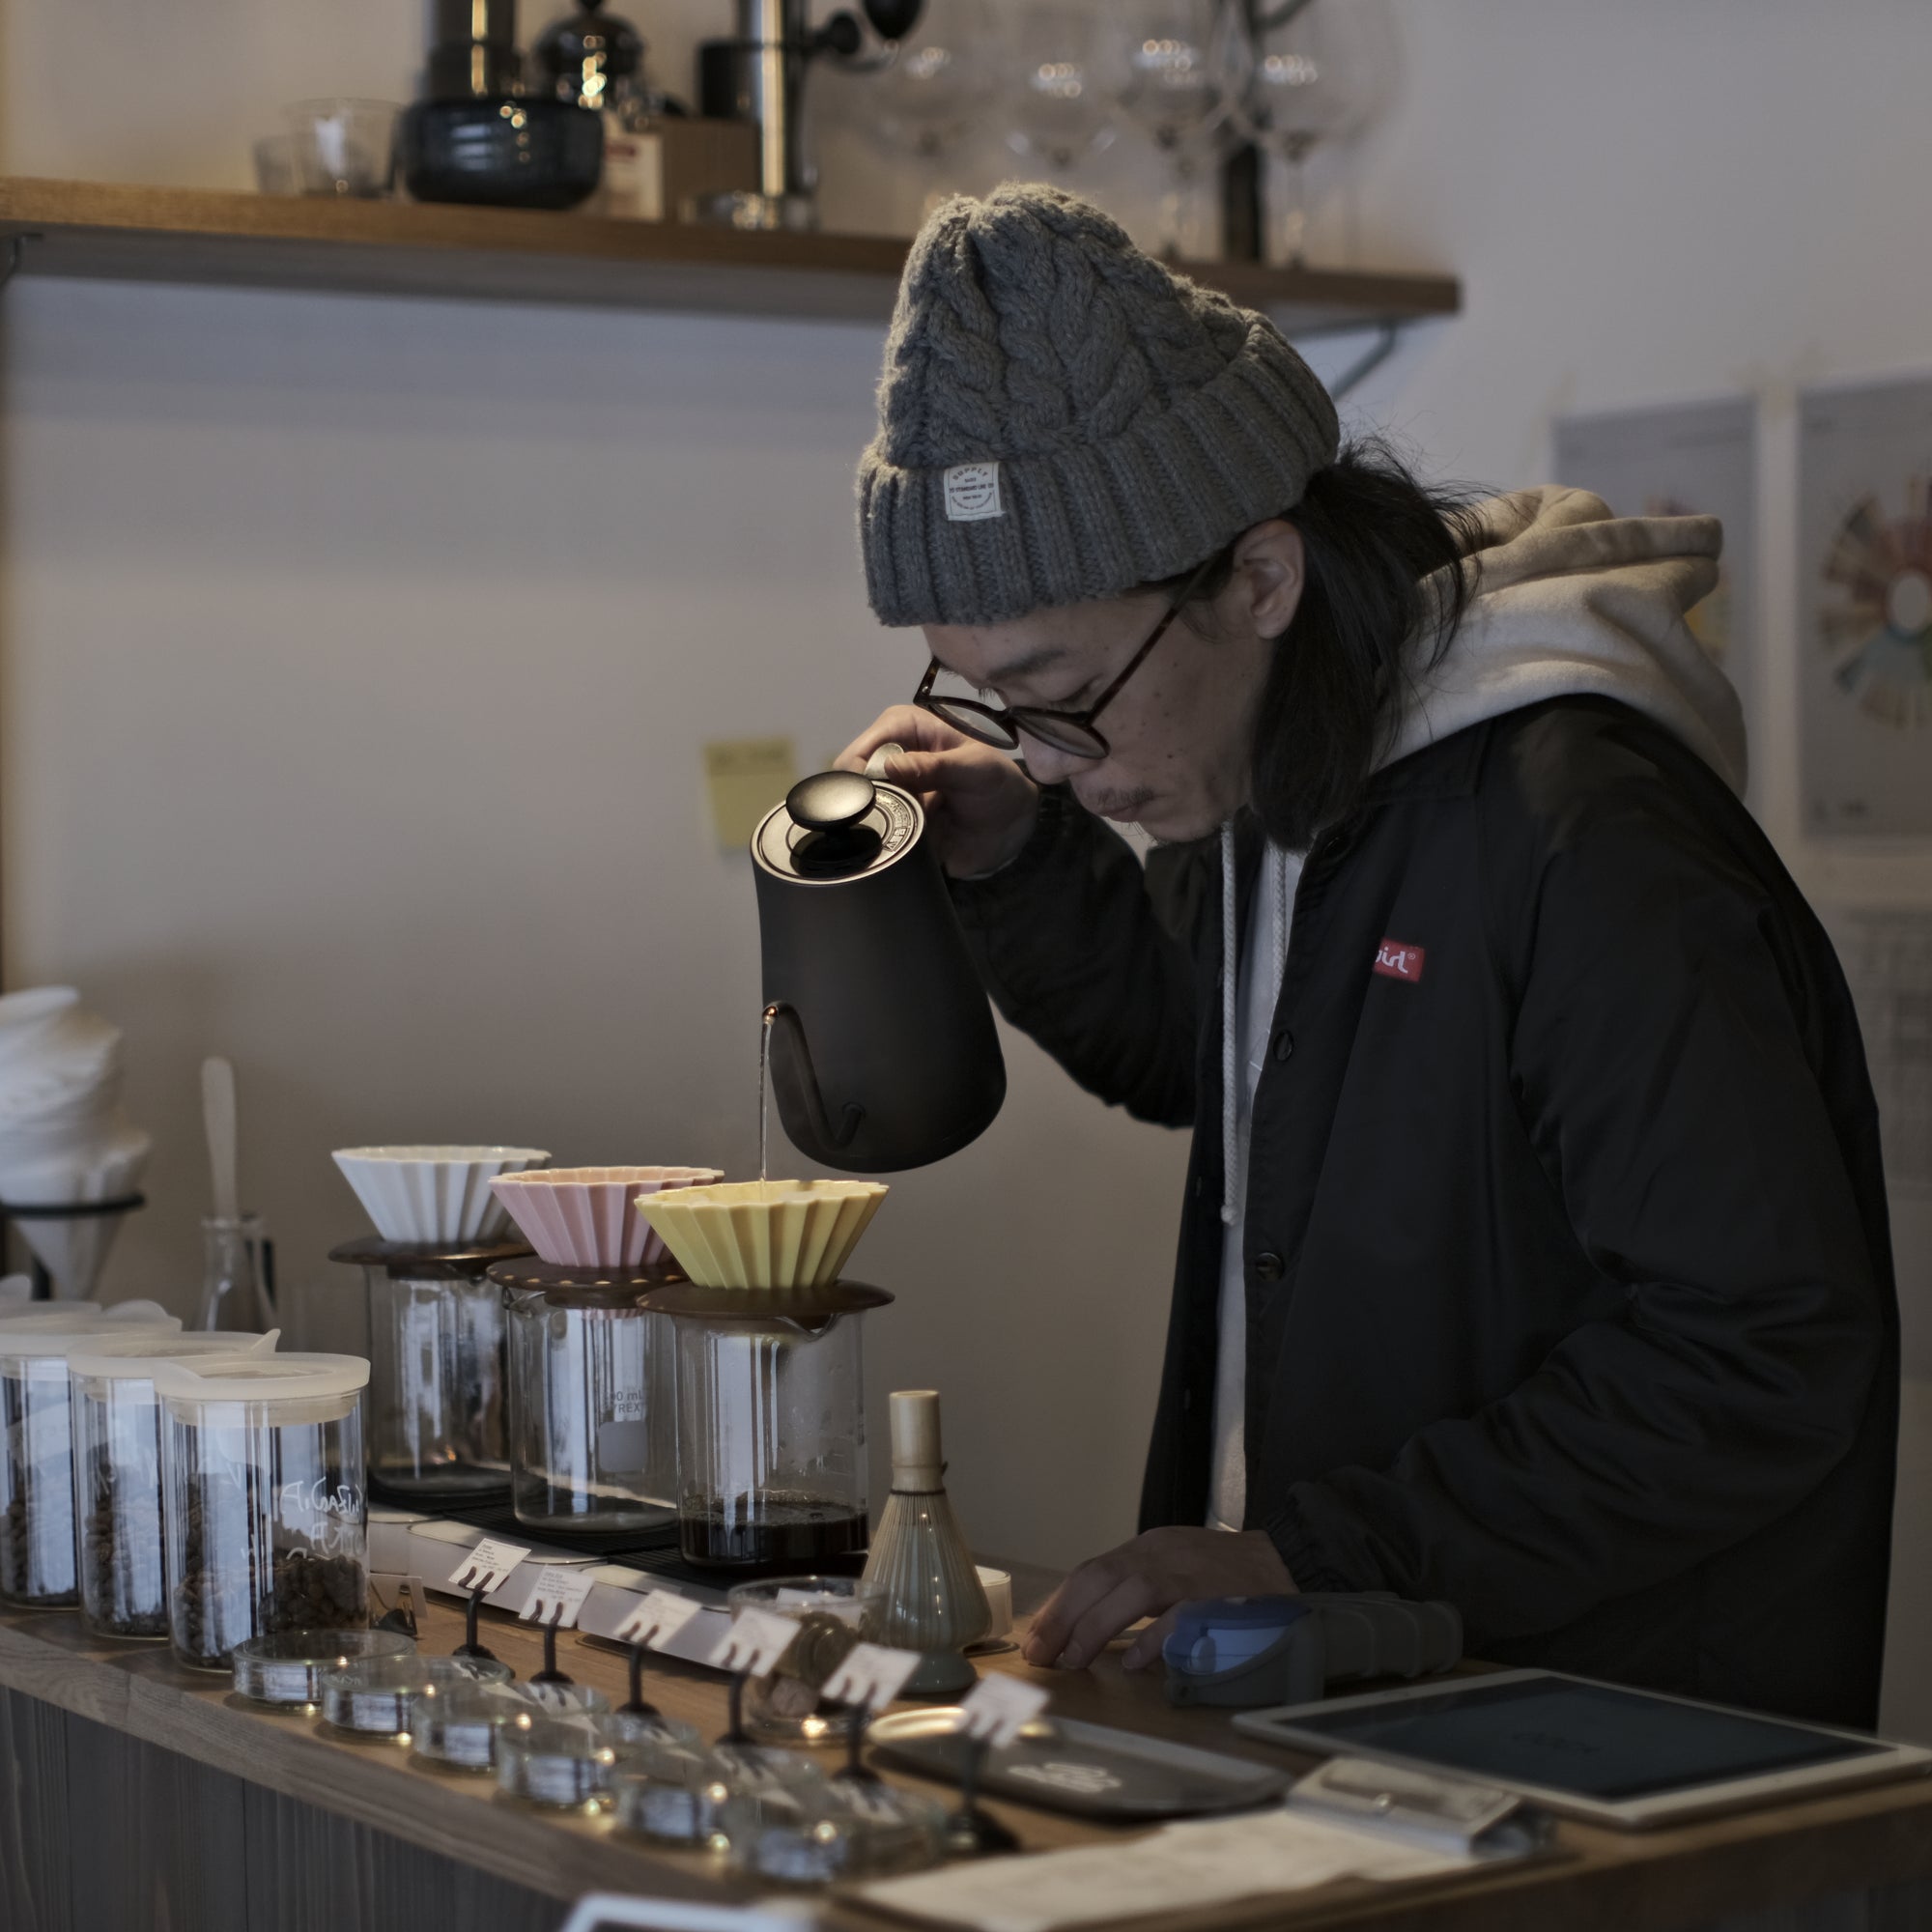
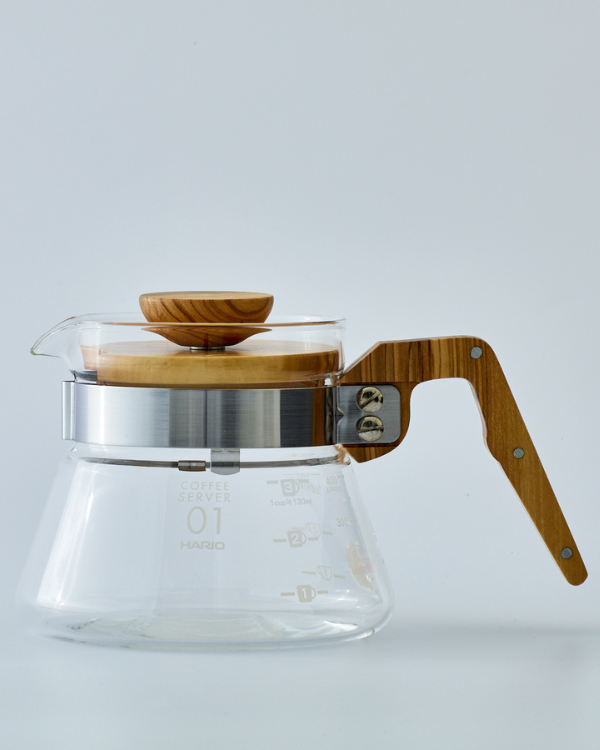
Coffee Kettle
Digital scale
Recipe:
Beans – 20g
Water – 270g (30g to bloom and makes 240g of coffee)

7 easy steps:
- Measure 20 g of coffee beans from your favorite local roaster.
- Grind beans to medium coarseness, or filter coffee setting if your grinder has one.
- Boil water to around 90-95c.
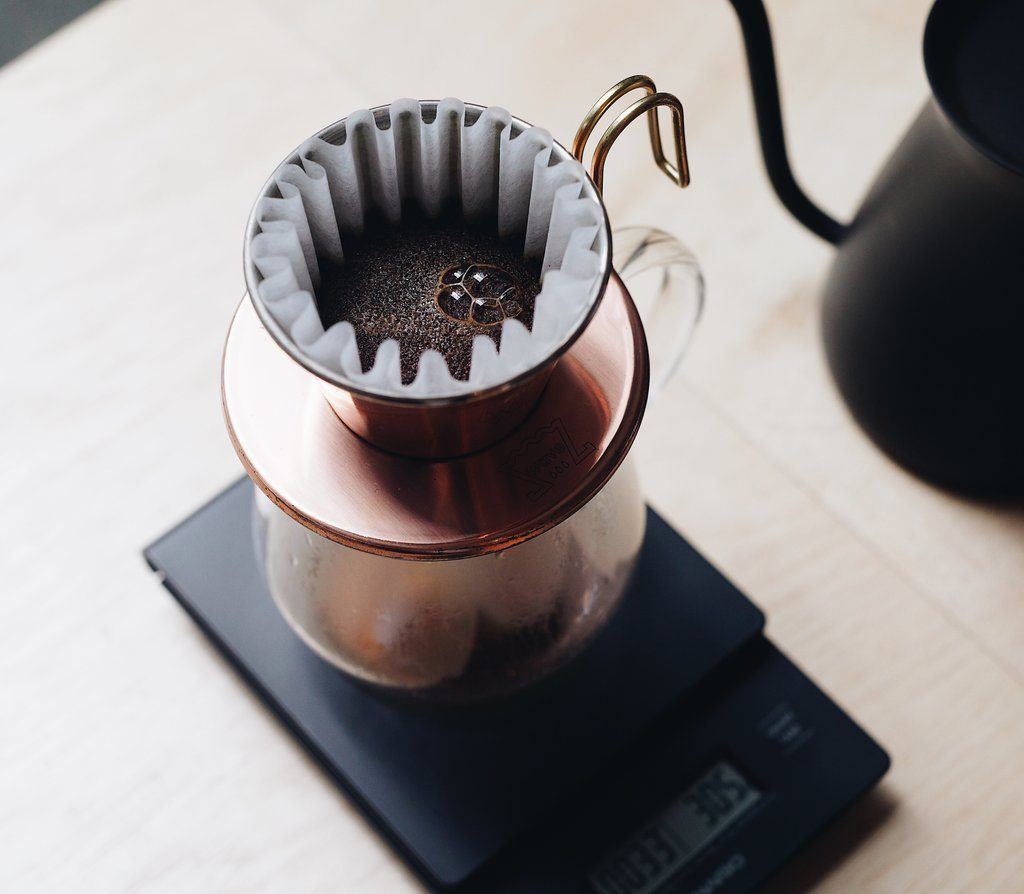
- Gently and slowly pour 30g of water to bloom (30 sec).
- Pour in a circular motion until 1cm below the top of filter. Wait until the water recedes and pour again in a similar fashion. Repeat 3-5 times.
- Stop at the 240g mark.
- Serve in your favorite coffee cup.

One of the most important aspects of brewing quality coffee is the grind. The quality deteriorates rapidly after the coffee is ground because oxidation occurs. That’s why I highly recommend not buying pre-ground coffee. The difference is very distinct if you were to compare the outcome.

I’m going with a 1:12 water to coffee ratio here, which will give a fairly strong brew accustomed for Japanese styled coffee - something I personally prefer.
I will change this depending on the beans and the pallet I’m aiming for the day. Between 1:12 and 1:16 seems to be the most common recipe out there.

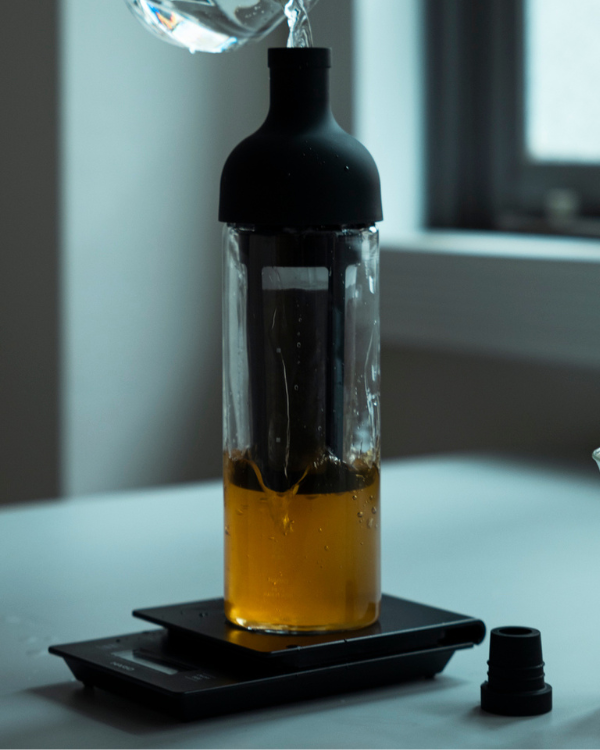
The bloom process is where we gently pour hot water over the coffee to let the gasses out to prep itself for brewing. If your coffee beans are fresh and of high quality the grounds should swell up nicely.

Don’t let the water recede completely and pour when the surface is almost about to go flat. You’ll get the hang of it after a few tries. Repeat the pour 3-5 times.

The whole process starting from the bloom takes approximately 3:00 min (30 sec for bloom + 2:30 min pour)


The Arita coffee cupfits around a cup of coffee (120ml) perfectly.
I always tell first timers that there isn’t a perfect formula for brewing filter coffee. Like having your own secret recipe for your favorite dish, there are many aspects you can easily tweak and experiment with to make a cup that suits your pallet. The point though is to not fret over the minuscule details and just have fun with the process! And of course, enjoy a good cup of coffee.
Enjoyed the post?
Find more beautiful Japanese coffee equipment through our Instagram gallery:
Receive amazing coffee monthly from curated Japanese specially roasters: